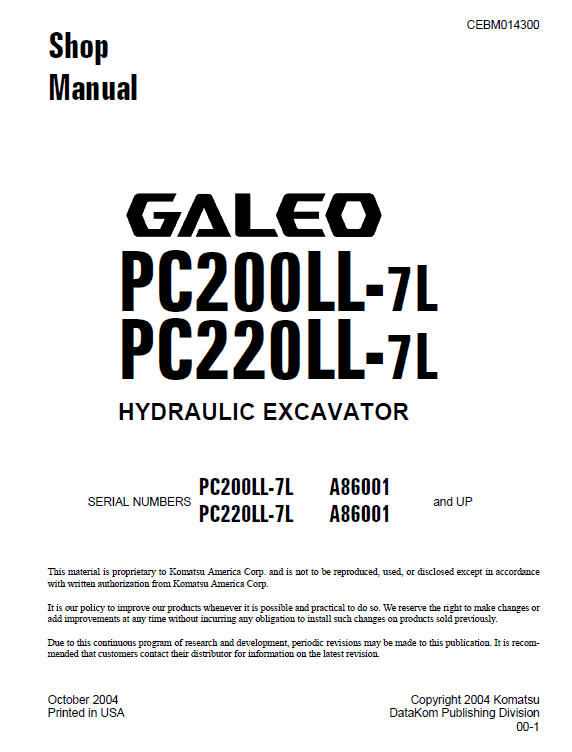
Komatsu PC200LC-7L and PC220LC-7L Service Manual
$34.00
Manual Included:
- Shop Manual: 852 pages
Specifications:
- Brand: Komatsu
- Model: PC200LC-7L and PC220LC-7L
- Serial Number:A86001 and up
- Type: Excavator
- Manuals: Shop Manual
- Publication Number: CEBM005806 (Oct 2004)
- Language: English
- Format: PDF
- Description
- Reviews (0)
Description
Table of Contents
01 GENERAL . . . . . . . . . . . . . . . . . . . . . . . . . . . . . . . . . . . . . . . . . . . . . . . . . . . . . . . . . . . . . 01-1
10 STRUCTURE AND FUNCTION. . . . . . . . . . . . . . . . . . . . . . . . . . . . . . . . . . . . . . . . . . . . . 10-1
20 TESTING, ADJUSTING AND TROUBLESHOOTING . . . . . . . . . . . . . . . . . . . . . . . . . . . . 20-1
30 DISASSEMBLY AND ASSEMBLY. . . . . . . . . . . . . . . . . . . . . . . . . . . . . . . . . . . . . . . . . . . 30-1
90 OTHER. . . . . . . . . . . . . . . . . . . . . . . . . . . . . . . . . . . . . . . . . . . . . . . . . . . . . . . . . . . . . . . . 90-1
1. Composition of shop manual
This shop manual contains the necessary technical information for services performed in a workshop. For
ease of understanding, the manual is divided into the following sections.
00. FOREWORD
This section explains the safety and basic information.
01. GENERAL
This section explains the specifications of the machine for the Excavator.
10. STRUCTURE AND FUNCTION, MAINTENANCE STANDARD
This section explains the structure, function, and maintenance standard values of each component.
The structure and function sub-section explains the structure and function of each component. It serves not only to give an understanding of the structure, but also serves as reference material for troubleshooting. The maintenance standard sub-section explains the criteria and remedies for disassembly and service.
20. TESTING AND ADJUSTING
Standard value table
This section explains the standard values for new machine and judgement criteria for testing, adjusting, and troubleshooting. This standard value table is used to check the standard values in testing and adjusting and to judge parts in troubleshooting.
Testing and adjusting
This section explains measuring instruments and measuring methods for testing and adjusting, and method of adjusting each part. The standard values and judgement criteria for testing and adjusting are explained in Testing and adjusting.
Troubleshooting
This section explains how to find out failed parts and how to repair them. The troubleshooting is divided by failure modes. The S mode of the troubleshooting related to the engine may be also explained in the Chassis volume and Engine volume. In this case, see the Chassis volume.
30. DISASSEMBLY AND ASSEMBLY Excavator
This section explains the special tools and procedures for removing, installing, disassembling, and assembling each component, as well as precautions for them. In addition, tightening torque and quantity and weight of coating material, oil, grease, and coolant necessary for the work are also explain.
90. OTHERS (chassis volume)/Repair and replacement of parts (engine volume)
• Chassis volume
This section gives hydraulic circuit diagrams and electrical circuit diagrams.
• Engine volume
This section explains the method of reproducing, repairing, and replacing parts.
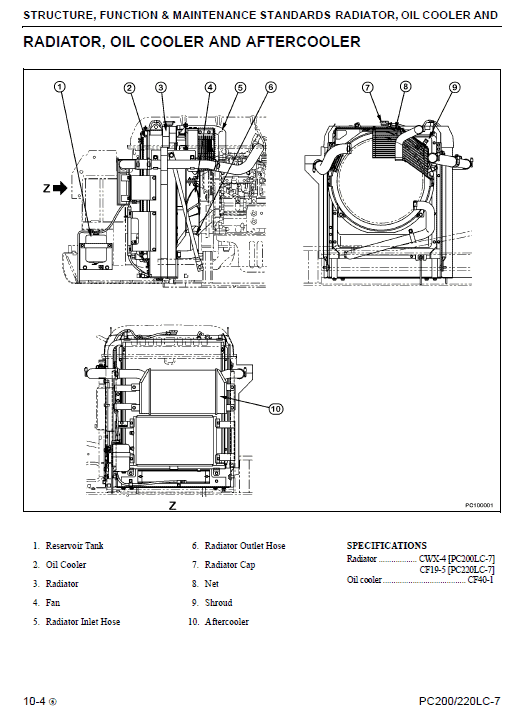
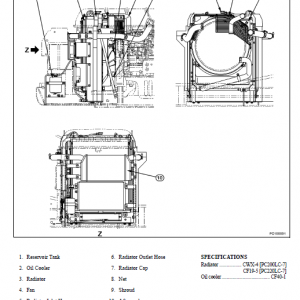
HYDRAULIC OIL COOLER REMOVAL

2. Remove cover (1).
3. Remove hydraulic oil cooler drain plug (2) and drain the hydraulic oil.
• Before draining oil, unscrew the hydraulic tank cap to release the pressure inside the tank, and drain oil through the cooler hose.
• If a plug on top of the hydraulic oil cooler is loosened, draining oil becomes easier
4. Remove cover (3).
5. Detach control valve drain hose (4) and tank return hose (5).
• Plug the hoses to prevent oil from flowing out.
6. Remove the mount clamp and put aside reservoir tank hose (6).
• When lifting out the hydraulic oil cooler, keep it where it will not interfere with other parts.
7. Remove the mount clamp and disconnect A30 air conditioner ambient temperature sensor (7) from the condenser bracket.
8. Disconnect hydraulic oil cooler drain hose (8).
Hydraulic oil cooler: Approximately 5.0 L (1.3 gal)
9. Remove four mount bolts from hydraulic oil cooler assembly (9) and lift it out.
• If bolts for the aftercooler and condenser mount bracket are removed beforehand, removing the hydraulic oil cooler assembly becomes easier.
INSTALLATION
• Install in reverse order of removal.
• Refilling hydraulic oil (hydraulic tank) Refill hydraulic oil through oil filler port up to the specified level and circulate oil in the hydraulic system by starting the engine. Then check the oil level again.
Be the first to review “Komatsu PC200LC-7L and PC220LC-7L Service Manual”
You must be logged in to post a review.

Reviews
There are no reviews yet.