Case 885B, 885B DHP, 885 VHP, 885 AWD Grader Service Manual
$34.00
Manual Included:
• Service Manual: 1223 pages & 1855 pages
Specifications:
• Brand: Case
• Model: 885B, 885B DHP, 885 VHP, 885 AWD
• Type: Grader
• Manuals: Service Manual
• Publication Numbers: 71114392 (Oct 2011) & 48050419D (Oct 2017)
• Language: English
• Format: PDF
- Description
- Reviews (0)
Description
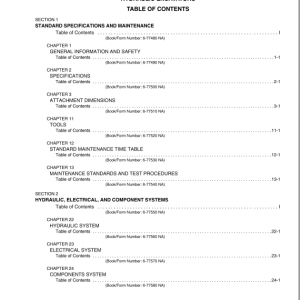
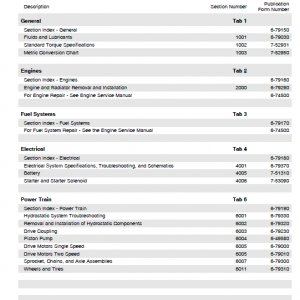
Table of Contents
- Contents
- Introduction
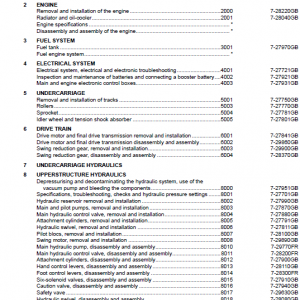
- Engine
- Transmission
- Front Axle System
- Rear Axle System
- Brakes and Controls
- Hydraulic Systems
- Frames and Ballasting
- Steering
- Cab Climate Control
- Electrical System
- Dozer blade and arm
- Platform, Cab, Bodywork and Decals
- Specials Tool Index
Manual Extract: Replacing Friction Pads
NOTE: Stamped on the back of each friction pad is a code. The first 1 or 2 characters is a number that specifies the friction material type. Check to insure new pads are the same as the worn pads that were removed. Replace friction pads only in pairs.
To replace the friction pads it is necessary to release the brake and disconnect the actuator from the brake lever.
1. Remove one brake mounting bolt. Swing the brake up over the disc to expose the brake pads.
In close clearance applications the brake may be removed from the vehicle. Using a flat bladed screw driver, pry out the used brake pads from their respective positions. The lever side friction pad is snapped onto the plastic actuator cover.
Care should be used in removing the friction pad from the plastic actuator cover so as not to break off the center snap tabs.
2. Place the new friction pads in their respective positions. The lever side friction pad has a center hole which snaps over the plastic snap tabs of the actuator cover. The flat on the lever side pad must align which the flat on the plastic rotor cover, allowing the pad to sit flat. If the snap tabs are gone dab some silicone gasket adhesive around the back edge of the friction pad and press firmly into place aligned as described above. Before placing the carrier pad in position, clean out existing pad glue from the pad compartment.
Place a layer of silicone gasket adhesive all along the back edge of the carrier friction pad and press firmly in place. Push the lever side pad into the brake as far as possible.
3. Swing the brake over the disc and install the mounting bolt and tighten all mounting bolts, (see equipment service manual for proper mounting bolt torque).
4. Linkage – Unbend tab on anti-rotation clip and loosen screw enough to disengage the lever spline. Rotate the lever to the OEM position (see equipment service manual to determine lever position with new pads) and torque screw to 110-140 in.lbs.(12.4-15.8 Nm). Bend up a tab on the anti-rotation clip that aligns with one of the screw head flats, to prevent screw rotation.
Attach actuating cable or linkage to the lever.
Adjustment of pad gap is accomplished by adjusting the actuating cable or linkage.
Be the first to review “Case 885B, 885B DHP, 885 VHP, 885 AWD Grader Service Manual”
You must be logged in to post a review.




Reviews
There are no reviews yet.